20 years jewelry packaging manufacturer,
Serving 1000+brands,Passed ISO9001/BV/SGS


You can share
- Share to Facebook
- Share to Google+
- Subscribe to our
- Share to Linkedin
- Share to Twitter
You can share

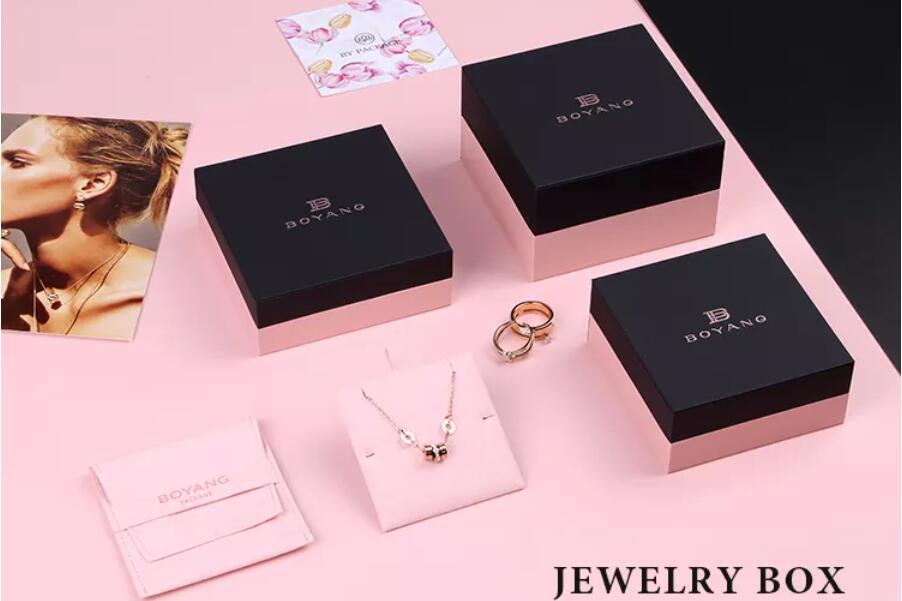
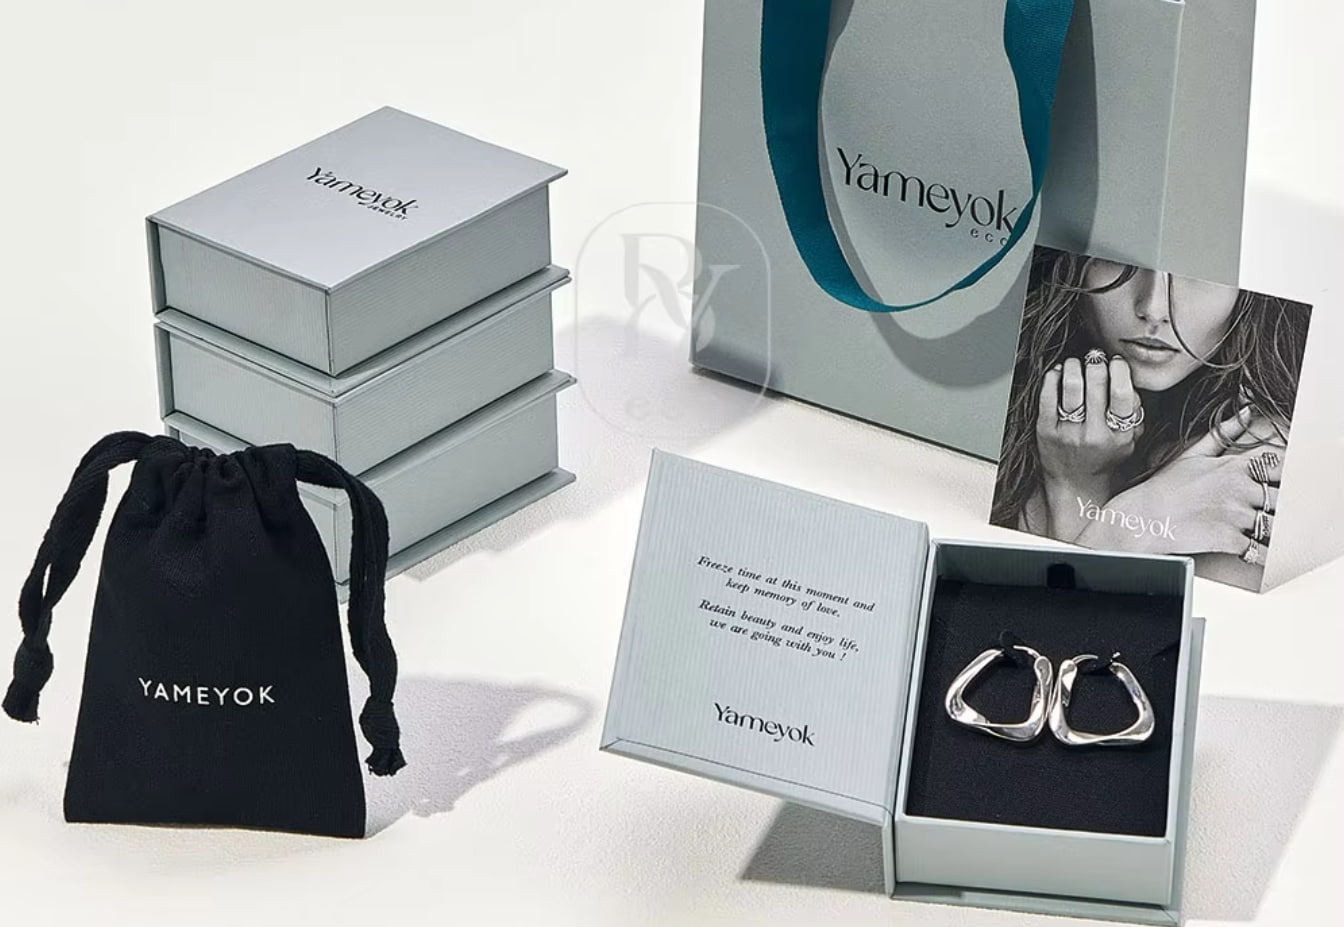
In jewelry packaging design, paper jewelry boxes have become the first choice for many brands because of their environmental protection, beauty, and cost control. For jewelers and packaging designers who pursue brand differentiation and individual expression, understanding the production steps of paper jewelry boxes will not only help control costs but also improve packaging quality and user experience.
Compared with wood, plastic, or metal materials, paper jewelry boxes have the following advantages:
Environmentally friendly and recyclable: in line with the brand concept of sustainable development;
Good printing performance: easy to customize brand LOGO, pattern, and color;
Flexible shape: suitable for different types of jewelry such as rings, necklaces, earrings;
Low cost: mass production is more cost-effective.
These characteristics make paper jewelry boxes widely used in jewelry e-commerce, gift packaging, and offline brand stores.
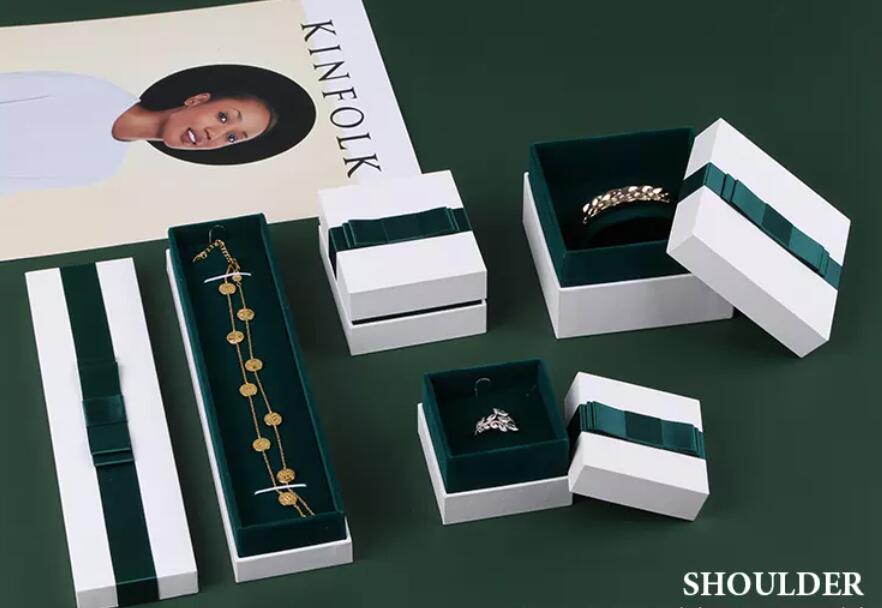
Before understanding the production steps, we need to first clarify the general structure of paper jewelry boxes:
Outer box paper shell: provides basic support, commonly used materials such as gray board paper and kraft paper;
Covering materials: such as special paper, art paper, or printed colored paper, used to beautify the box;
Inner support structure: used to fix jewelry, generally using flocking EVA or foam;
Magnetic suction/insert/flip design: choose the appropriate opening method according to the box type.
Step 1: Design and proofing
This is the starting point of the entire production process. The design draft must include size, box opening method, material selection, and visual style. It is recommended to use AI, CAD, and other design software to output standard drawings.
Step 2: Select materials and cut cardboard
Usually, 1.5mm-2.5mm gray board is used as the structural support material. According to the drawing size, use a die-cutting machine or manually cut the cardboard and facial paper.
Step 3: Pasting and edge pressing
The cut grey board box body and the surface paper are glued together, which is called "pasting". This process requires precise alignment to avoid bubbles or skew.
Step 4: Inner tray production and fixation
Customize the EVA or flocking inner tray according to the type of jewelry. The size must fit the box body to ensure that the jewelry is stable and beautifully displayed.
Step 5: Assembly and finished product inspection
Assemble the box body, inner tray, and sealing accessories (such as magnetic buckles, ribbons, etc.) and check whether every detail is firm, neat, and beautiful.
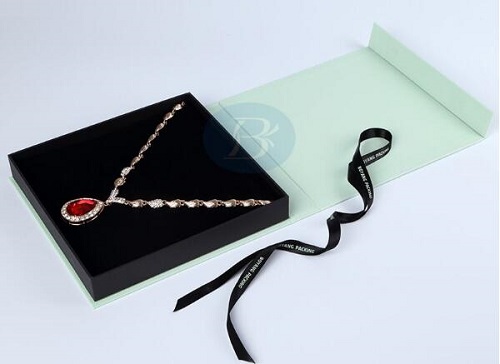
(1) Drawer-type paper box: suitable for small jewelry, with advanced user experience;
(2) Top and bottom lid paper box: classic style, moderate cost;
(3) Flip-top paper box: suitable for mid-to-high-end jewelry, convenient for brand printing and display;
(4) Special-shaped custom boxes: improve recognition, but with high craftsmanship requirements
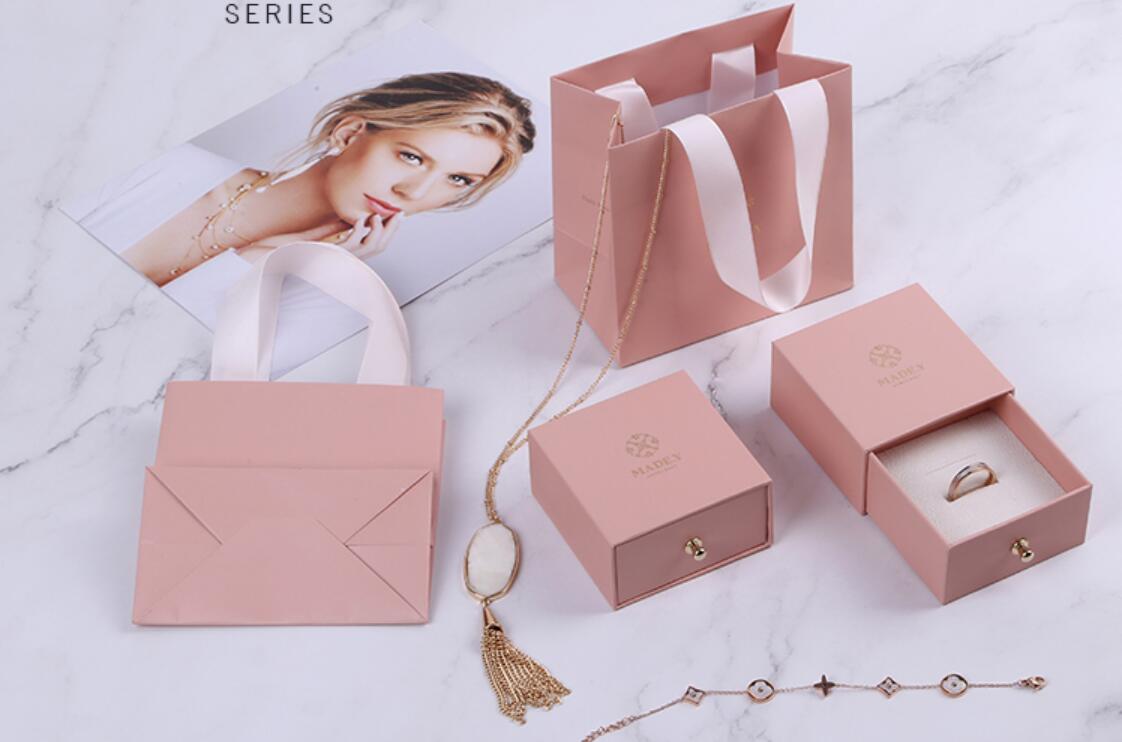
Reasonably control the thickness of the box body, taking into account both firmness and lightness;
It is recommended to coat or glaze the surface paper to enhance its waterproof and scratch resistance.
Experienced processing factories should be selected to ensure a firm structure and fine surface treatment.
The stability of jewelry placement and transportation must be tested during the sample stage.
Paper jewelry boxes are not just packaging, but also the first point of communication between brands and consumers. Mastering the production steps and paying attention to detailed design will not only help enhance the brand image but also optimize the user's box-opening experience.